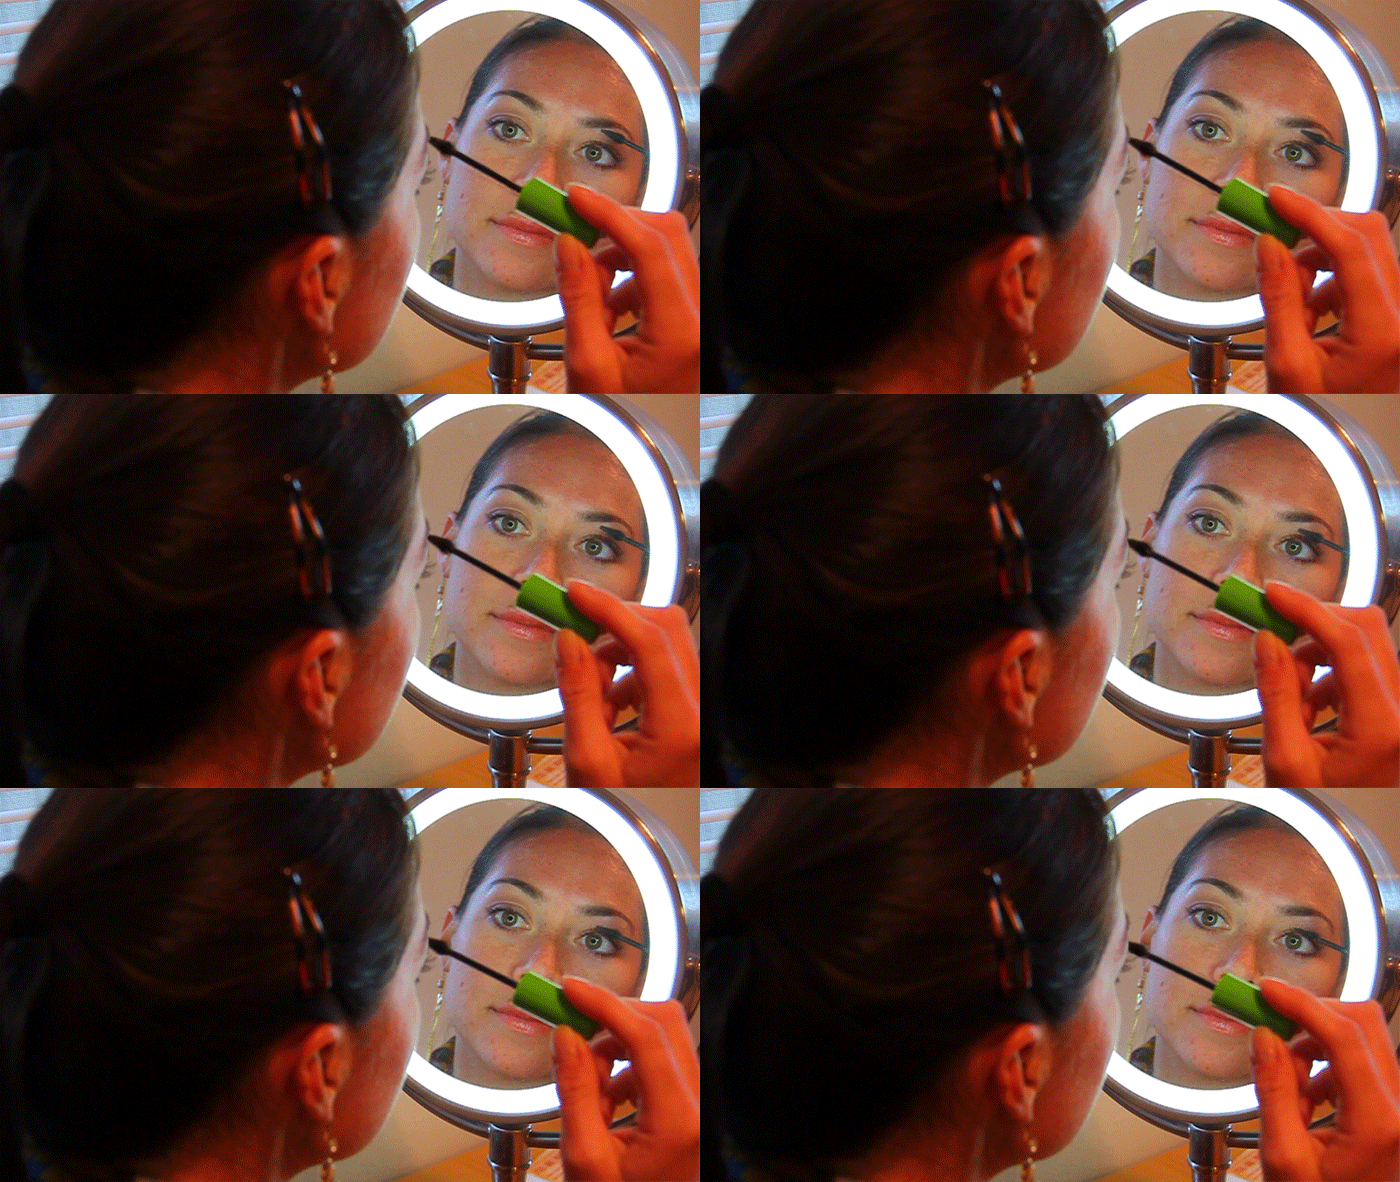
Cinemagraphs by Julie Peterson
I have always wanted to try to create a Cinemagraph. I was able to create 3, but 2 out of the 3 were too big for my blog. I loved doing this though. How I created this image was first I selected a subject. This was the most time consuming part of creating my cinemagraph. I did it twice I learned from the first time that I need less movement. Once I captured my video I brought it into Photoshop and resized the image. I then opened the animation too. I selected my loop. Then I found a frame that I wanted to use for the still area of the cinemagraph. I made it a layer, then I added a new mask to the still layer. I painted the mask with black to remove the areas of the still where you want to see movement. I used varying degrees of paint opacity and flow to create a natural appearance. Then I saved for the web as a .gif. Below is the end result. I am in the process of figuring out how to slow down the animation, but have not figured it out yet. Again this was so fun to learn about. Photography and Edits done by Julie Peterson
Photography and Edits done by Julie Peterson


 Follow
 My name is Julie Peterson. I have a passion for photography. I have four years of experience and have explored many different areas of Photography. I started out as a natural light photographer and just last year added lighting to my skill set. I love to take pictures of nature and create art, but portraits are my strength. I am contently challenging myself to be better and more creative. Feel free to comment on my page and send me feedback.