


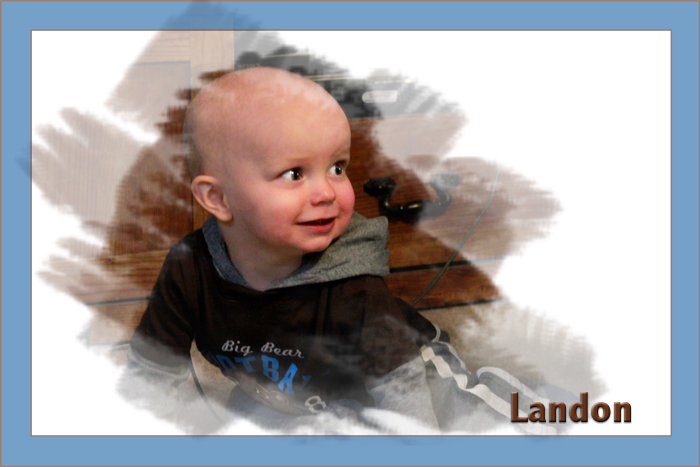
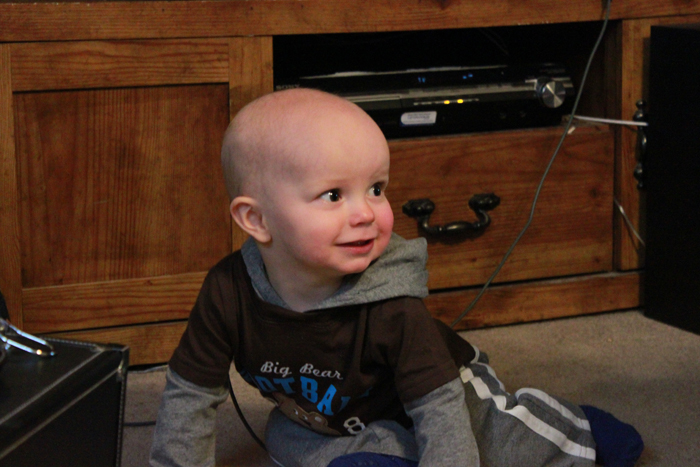
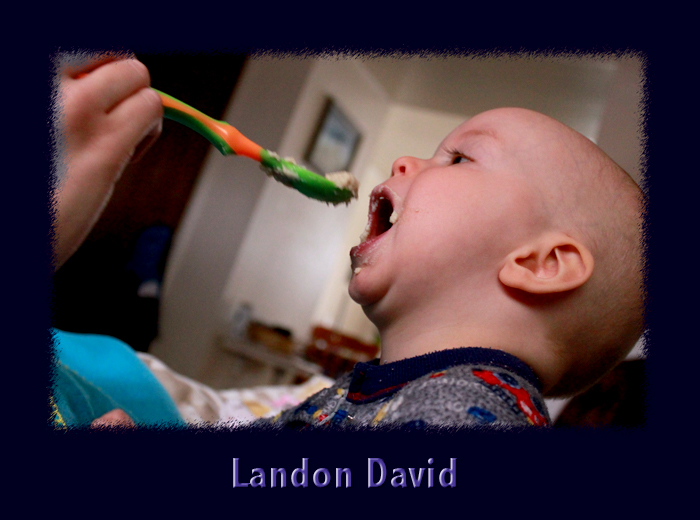
All of the images I cleaned up in Photoshop using the Levels tool and dodge tool. Now on the Edge Effect on the first image I first added a new layer above the original and then used a white fill on the background. I then moved the layer below the original image to make it now the background. I applied a black mask to the original image and grabbed a brush stroke I liked and revealed parts of the original image back. I played around with the opacity as I did that. On the Landon David Peterson I first created a rectangle marquee and then applied a quick mask to the selection, then I went to filter and applied the Brush Stock-Sprayed Stroke to the mask. I inverted the selection so it would only apply to the quick mask border. I then grab the Fill Bucket and eye dropped the blue and applied it to the border. I increased the Canvas Size as well. The final image I applied a Flexible Vignette Border. I first created a new blank layer. I used the eyedropper tool to select the color I wanted to use then moved it to my background fill. I then grabbed the Rectangular Marquee and drew a box within my image. I then hit delete to add the color to the border and lowered the opacity so you could still see the image through the color. I then added a stroke to the edge to finish it off.


 Follow
2 Comments
Leave a Comment
Subscribe
Julie Peterson
 My name is Julie Peterson. I have a passion for photography. I have four years of experience and have explored many different areas of Photography. I started out as a natural light photographer and just last year added lighting to my skill set. I love to take pictures of nature and create art, but portraits are my strength. I am contently challenging myself to be better and more creative. Feel free to comment on my page and send me feedback.
I really liked the edge effects you did. I really liked your lace and silk scan. i liked how the you made the silk white it made the beads really pop. I really like the edge effect you did on Landon's picture. It makes all the difference in the picture because it takes away the unimportant stuff in the background and you only focus on him. It also leaves more question to as what he is looking at.
Your lace and silk picture looks great. The edging helps to bring focus to the center of the photo. The edging also helps create the contrast and but also blends well.