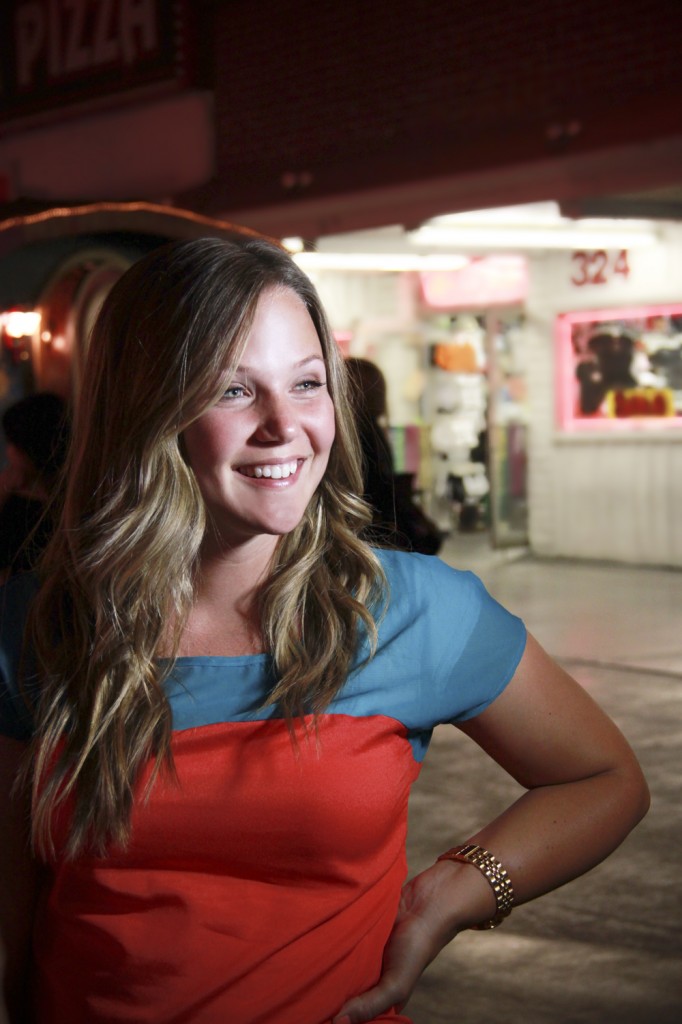
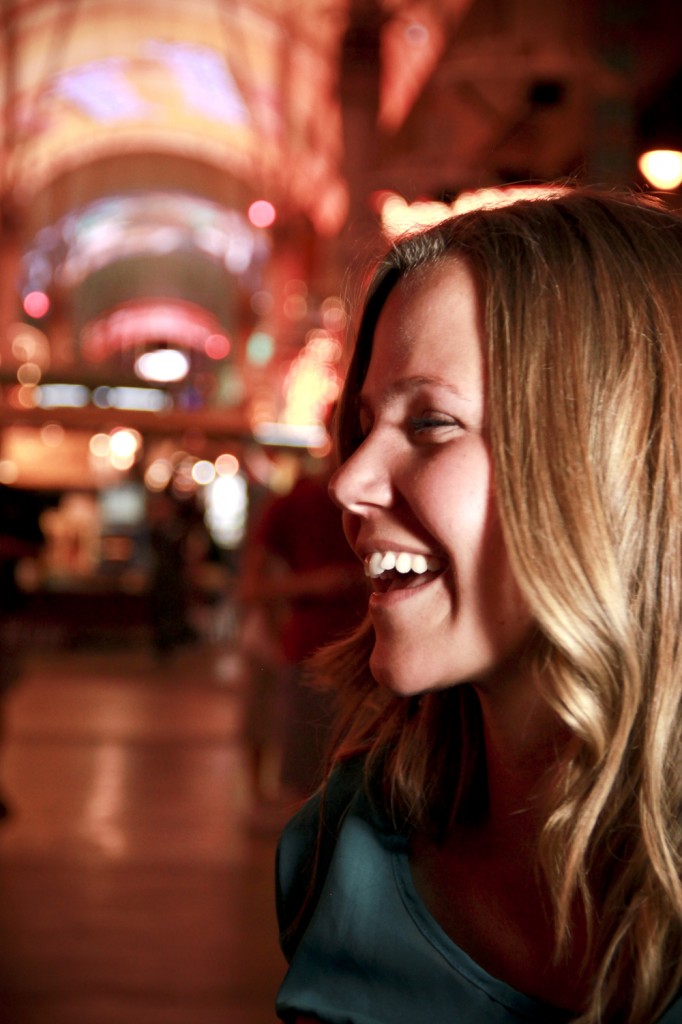
Flower Macro
Flora Macro
By Julie Peterson
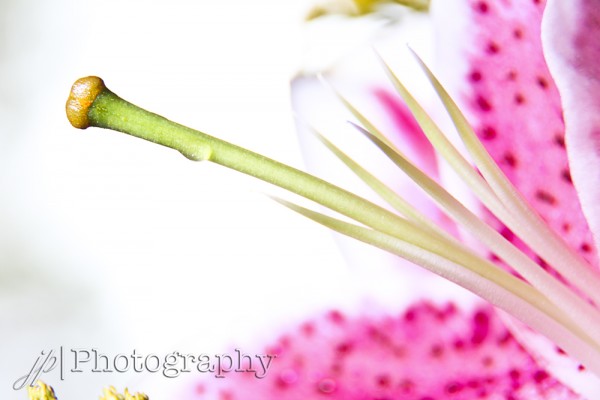
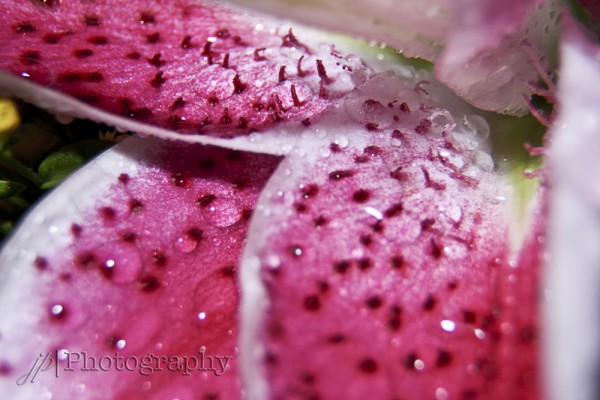
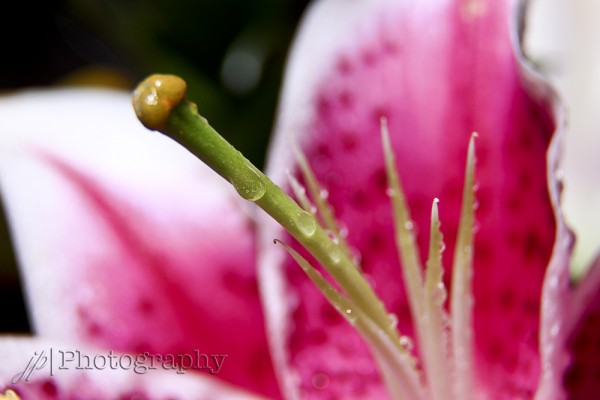
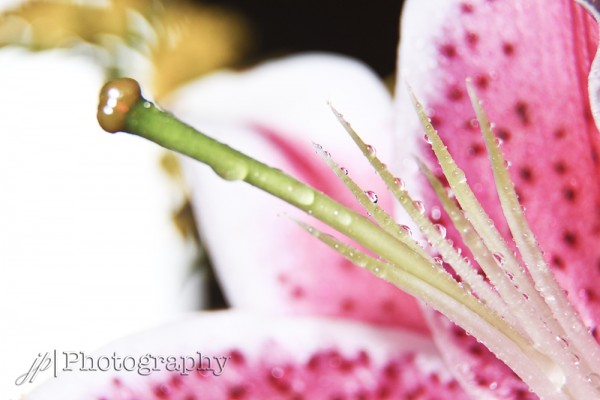
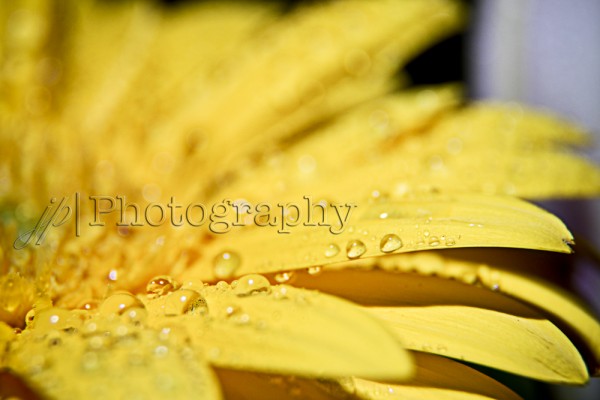
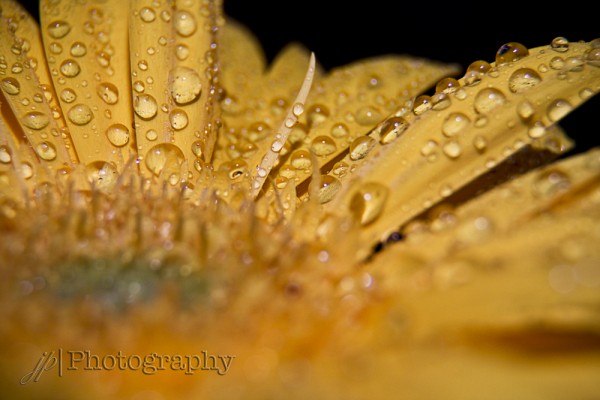
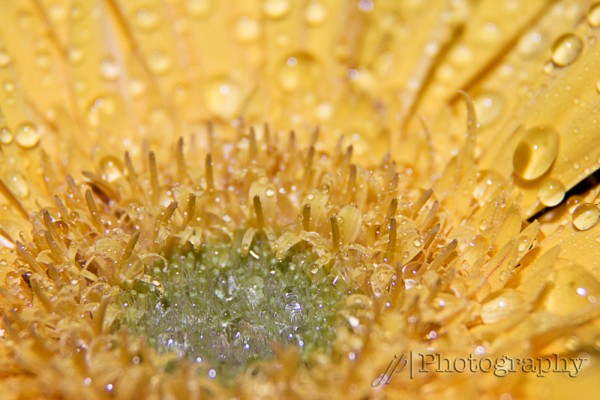
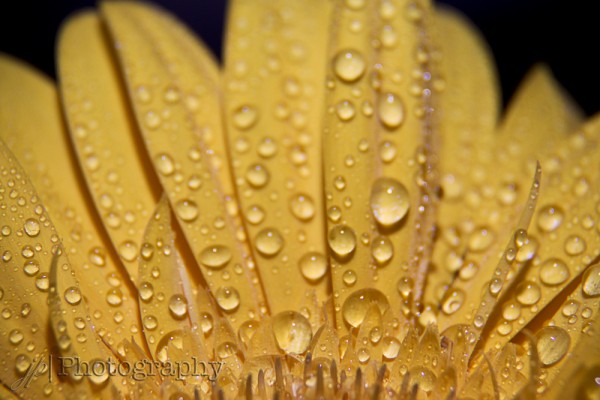
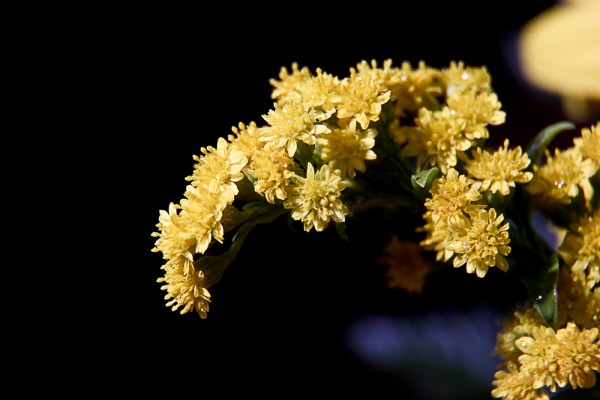
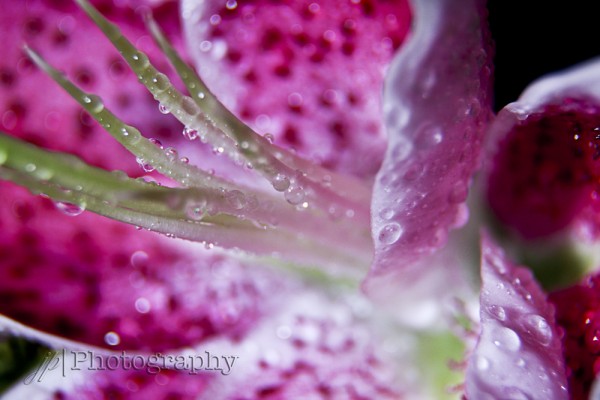
Over the weekend in Ashton, Idaho I practiced taking macro photos. This set is Flora Macro. I used all three of my extension tube. Caryn Esplin had a beautiful vase full of flowers and a mist bottle. I sprayed the flowers with water. I had an external flash with a trigger on my camera. I was able to capture so many beautiful photos. The following are my favorite. I brought the images into bridge for a little color enhancing. This is what I love about macro they come out of the camera print ready. Photography and Edits done by Julie Peterson. Images owned by JP Photography.
Photography and Edits done by Julie Peterson. Images owned by JP Photography.
Ink Drop Macro
Ink Drop Macro
by Julie Peterson
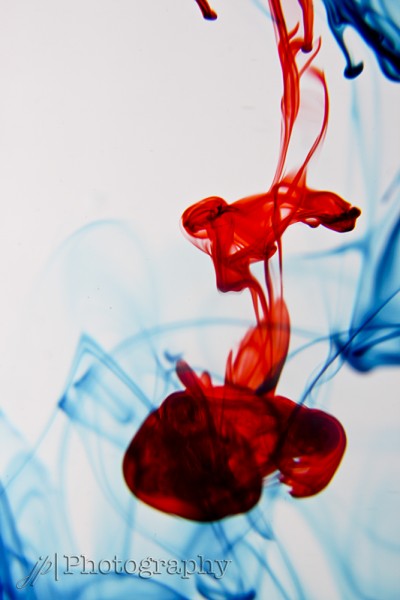
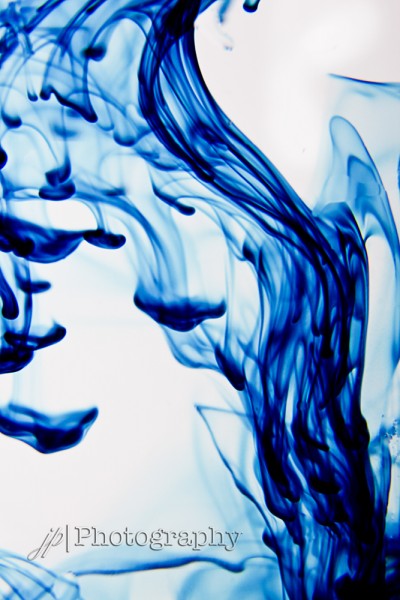
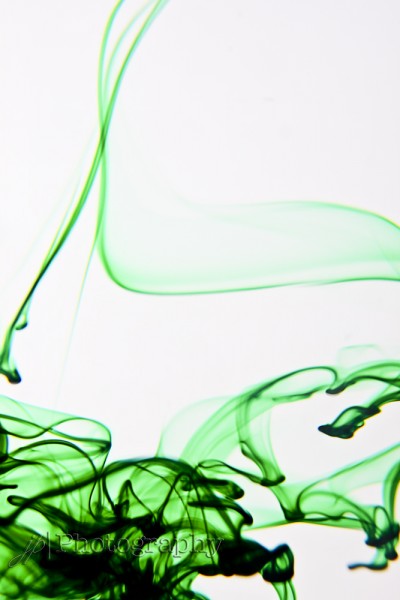
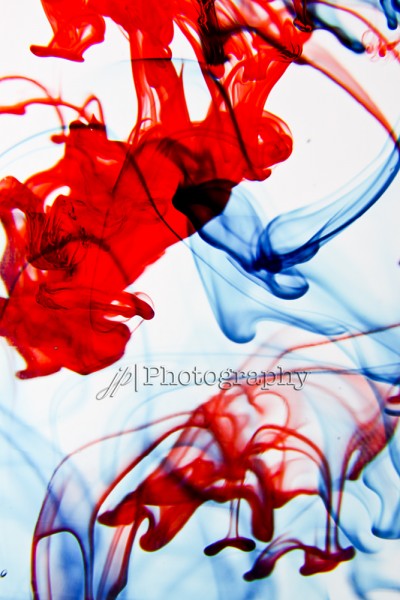
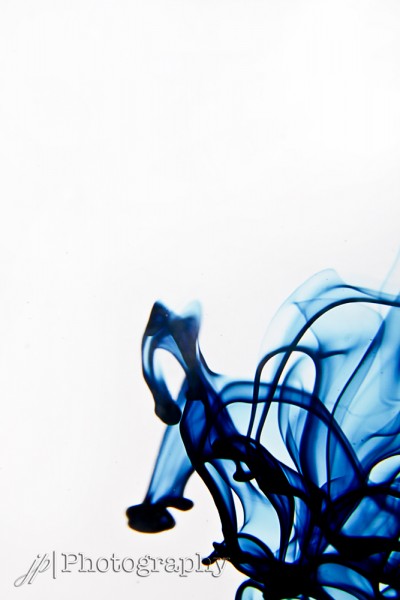
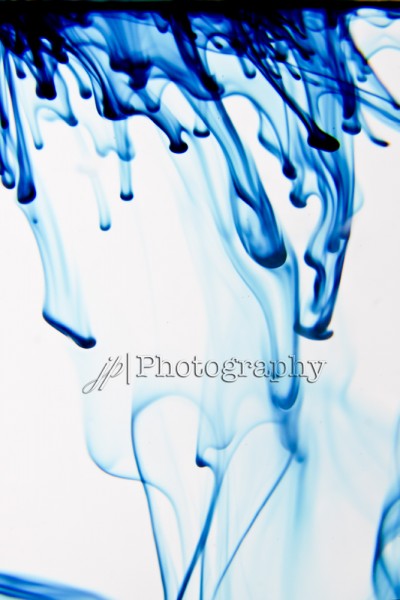
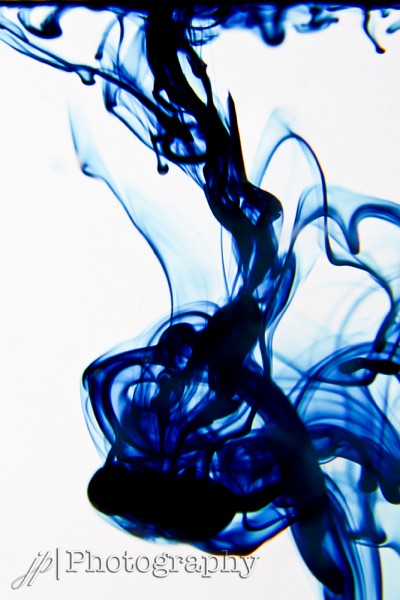
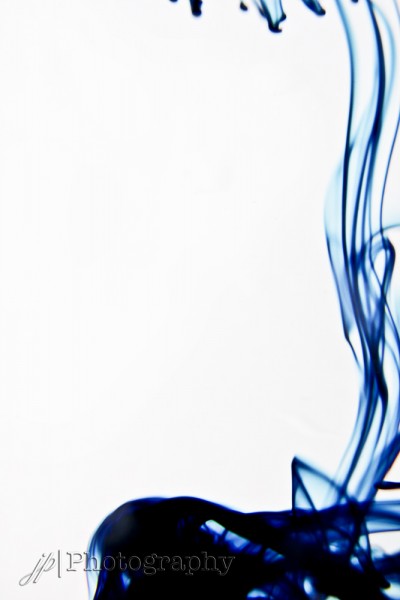
Over the weekend in Ashton, Idaho I practiced taking macro photos. This set is Ink Drops. I used one extension tube size 31MM. I had a glass full of water I then focused on a spoon. I had my focus in manual mode, I wanted complete control of my focus. I zoomed in a little to improve the feel of Macro. I then added in some food coloring. As you can see from my images I enjoyed playing with color. The was so much fun and I was able to capture some fun artistic lines. I brought the images into bridge for a little color enhancing. This is what I love about macro they come out of the camera print ready. Photography and Edits done by Julie Peterson. Images owned by JP Photography.
Photography and Edits done by Julie Peterson. Images owned by JP Photography.
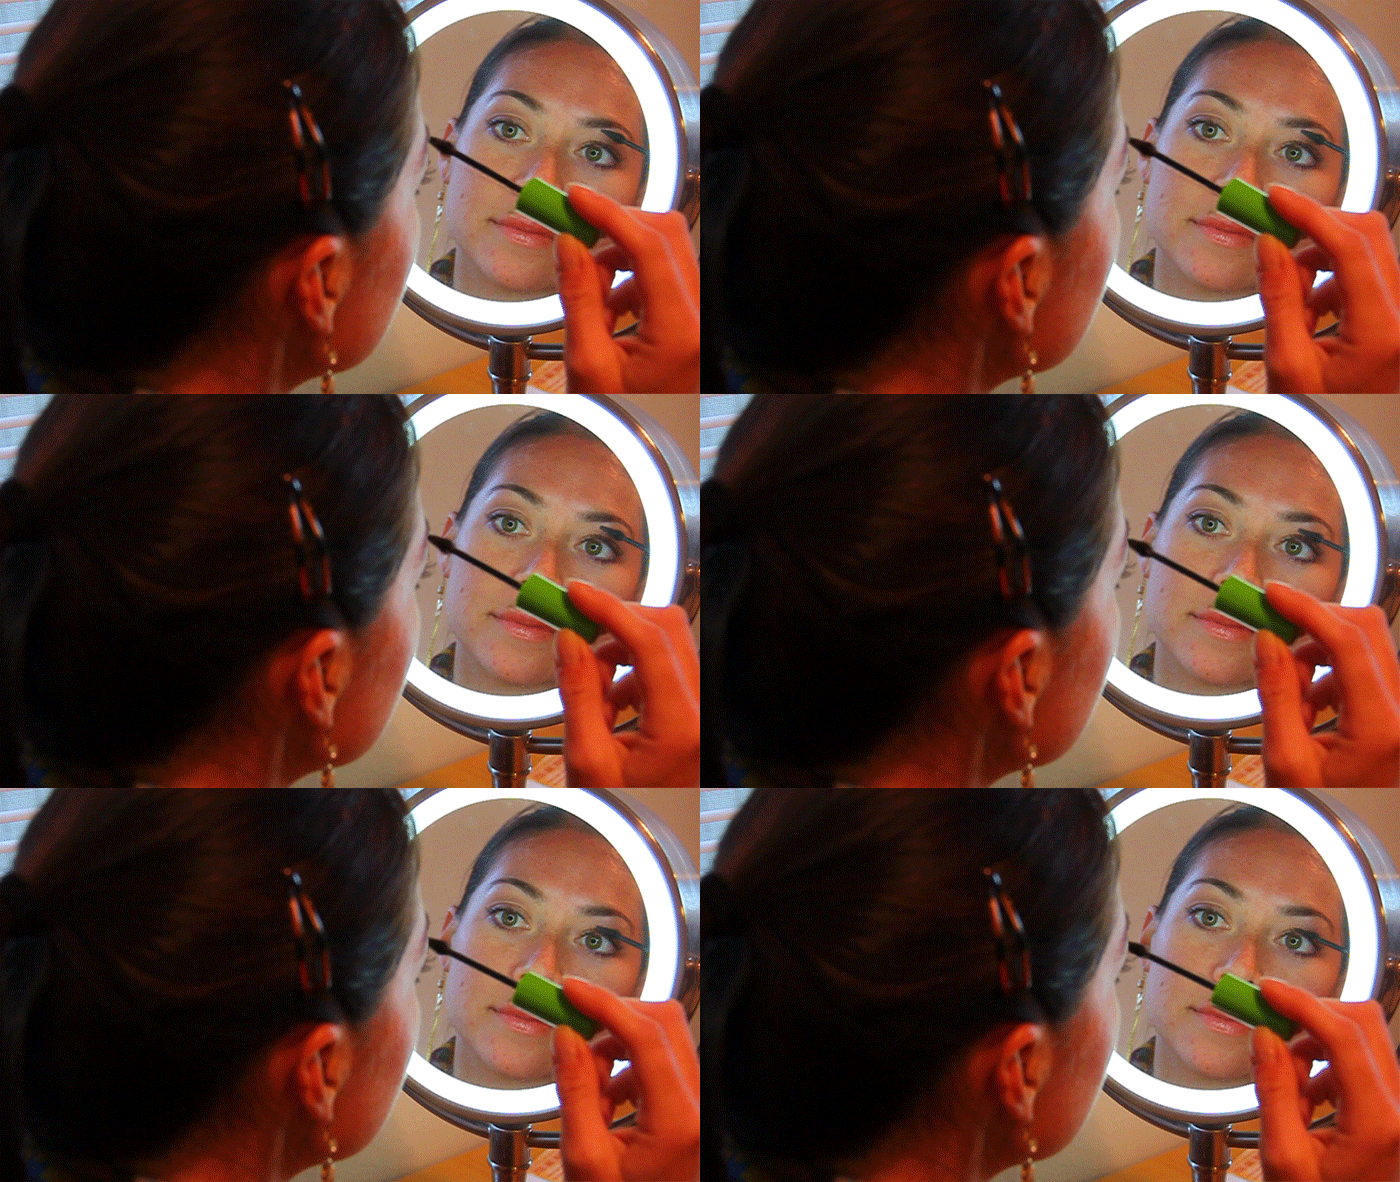
Cinemagraphs
Cinemagraphs by Julie Peterson
Photography and Edits done by Julie Peterson
Bobble Head Caricature
Bobble Head by Julie Peterson
This was absolutely fun. It is something I have never done before. I created my own bobble head. It is animated portrait of myself.
I first took the image and then brought in Photoshop. I then added some filters to the image to make it look a little more cartoon like. I used the Diffuse filter under Stylize. Then I cut out my head with the Direct Select Tool and the body, they are both on separate. The body I made smaller. Then I titled the head and copied the head layer and then titled it opposite side. Then I pulled up the Animation tool. I created two frames and made the animation last forever. After that I saved for web and devises as a gif. I then uploaded my image to the blog. Photography and Edits done by Julie Peterson
Photography and Edits done by Julie Peterson
Light Painting
Julie Peterson Photography
Over the weekend in the middle of September I had to opportunity to visit Island Park, Idaho and Yellowstone in Wyoming. I was able to practice light painting. My Professor Caryn Esplin was able to teach us various styles of light painting. I have posted these styles and explained to process in this post. It was an amazing experience. I was surrounded by so many of God’s beautiful creations. I am so grateful for my Professor and all she has taught me and my fellow classmates. Photography and Edits done by Julie Peterson
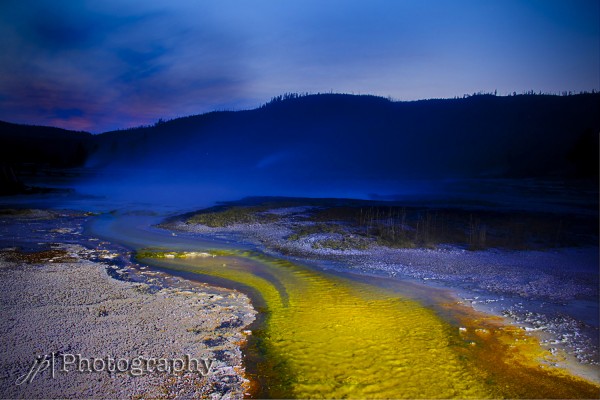
ISO:100 | f:10.0 | 10 sec
HDR + Light painting = Caryn Esplin Style. This image was captured at Yellowstone National Park. To capture this image I had my camera on a tripod. I used the setting listed above. Then Caryn Esplin had a spot light and painted the water and the steam. This image is 3 shots. I set my brackets to over expose and under expose the image. I then blended the images in Photomatix. I then brought the image in the Bridge and Photoshop to do some miner edits.
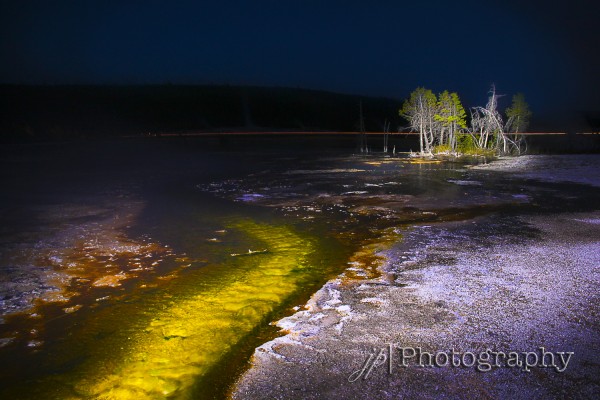
ISO:100 | f:10.0 | 10 sec
This photo was inspired by Dave Black.
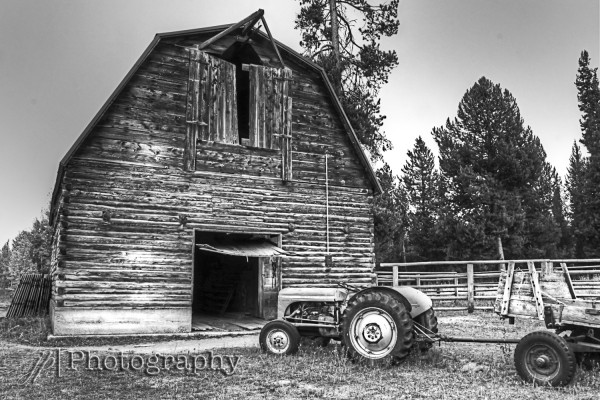
ISO:100 | f:16.0 | 20 sec
This image was captured in Island Park, Idaho. To capture this image I had my camera on a tripod. I used the setting listed above. Then several of my classmates painted the barn. This image is 3 shots. I set my brackets to over expose and under expose the image. I then blended the images in Photomatix. I then brought the image in the Bridge and Photoshop to do some miner edits.
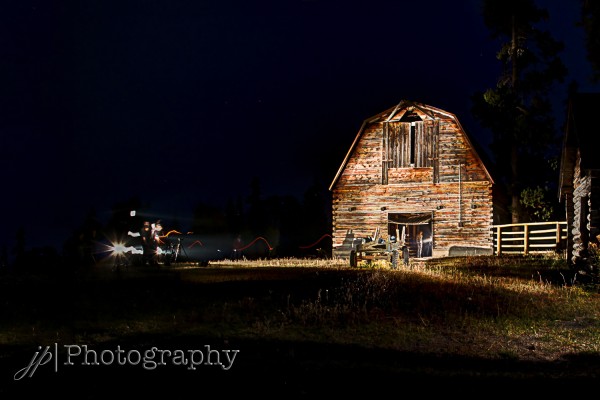
ISO:400 | f:15.0 | 15 sec
This image was fun. I used the same process as the images above. The “Caryn Esplin Light Painting.” I liked this photo because of the movement of my classmates that was captured.
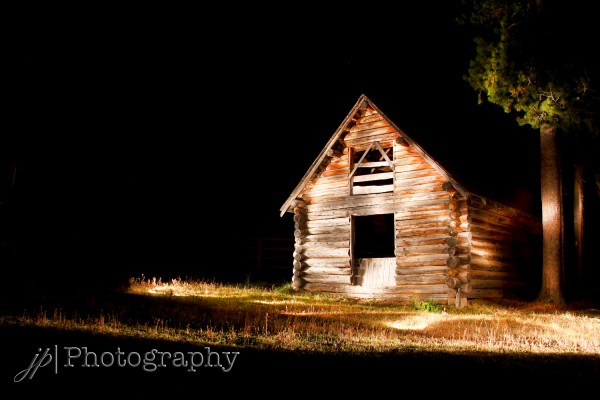
ISO:400 | f:15.0 | 15 sec
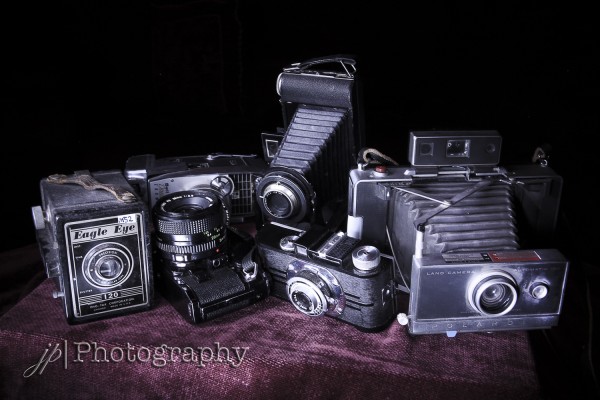
ISO:100 | f:11.0 | 20 sec
These next couple of images I tried the Dave Blacks / Caryn Esplin table top light painting. I had my camera on a tripod and used a LED flashlight to paint light onto the subject. I brought the images in to Bridge and did some exposure adjustments.
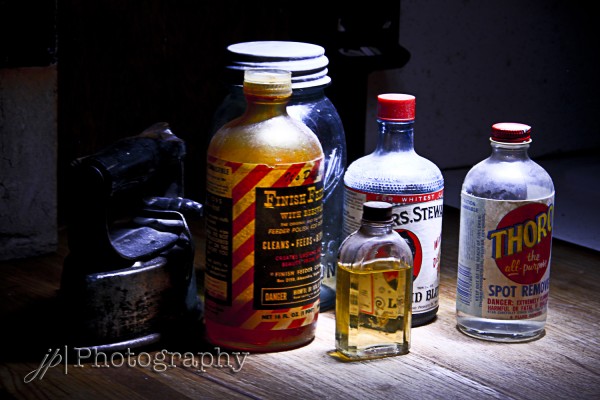
ISO:100 | f:11.0 | 15 sec
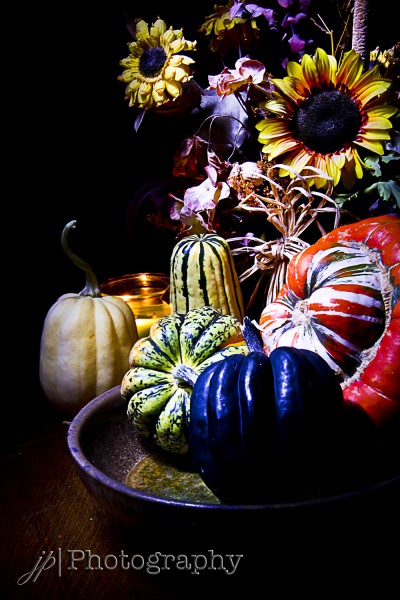
ISO:100 | f:11.0 | 15 sec
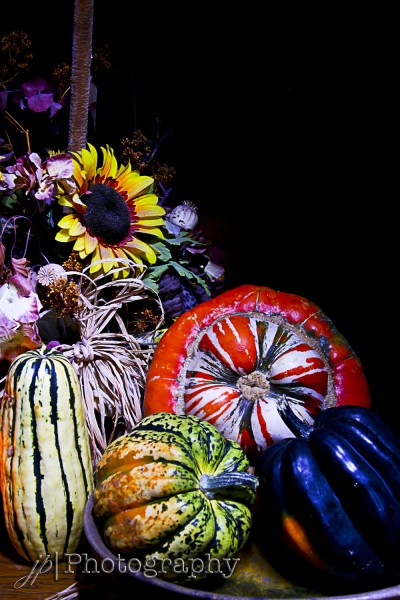
ISO:100 | f:11.0 | 15 sec
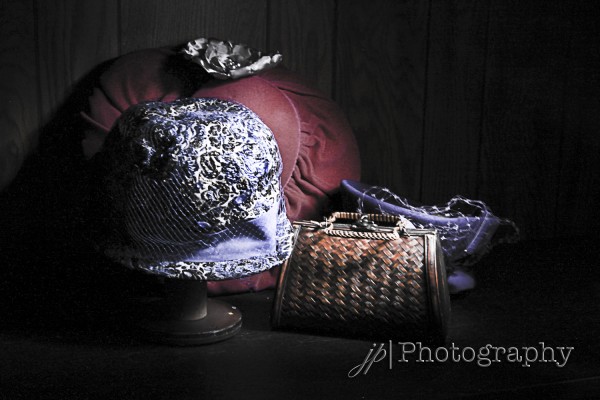
ISO:100 | f:11.0 | 15 sec
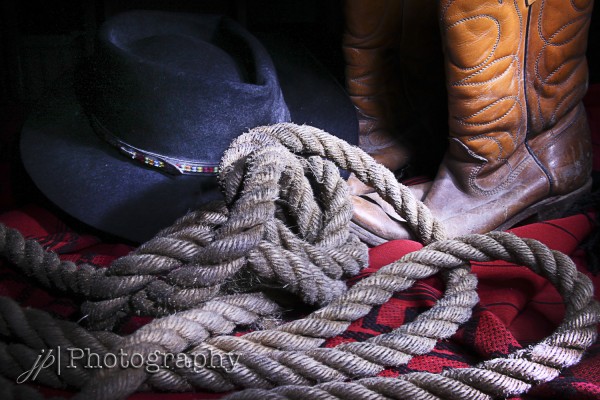
ISO:100 | f:11.0 | 15 sec
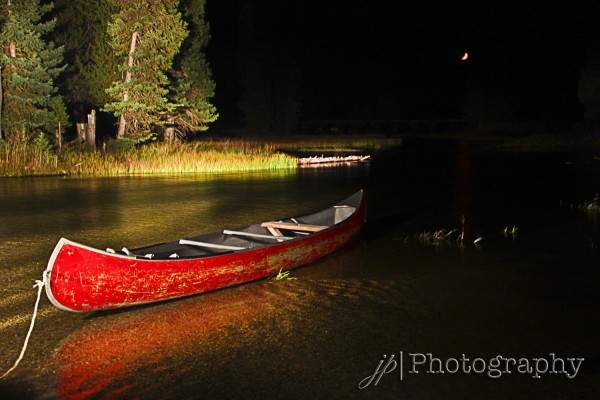
ISO:400 | f:16.0 | 30 sec
The next images were just normal light painting. I did not do multiple images.
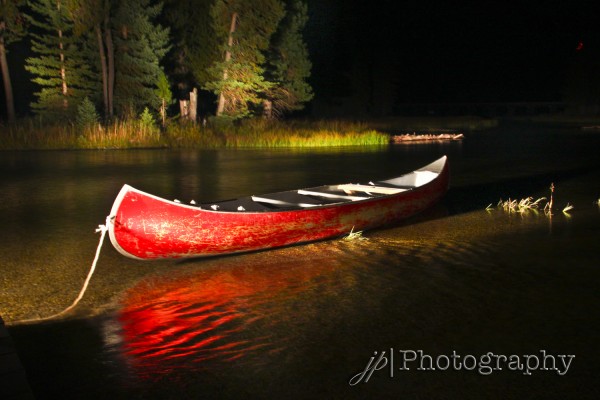
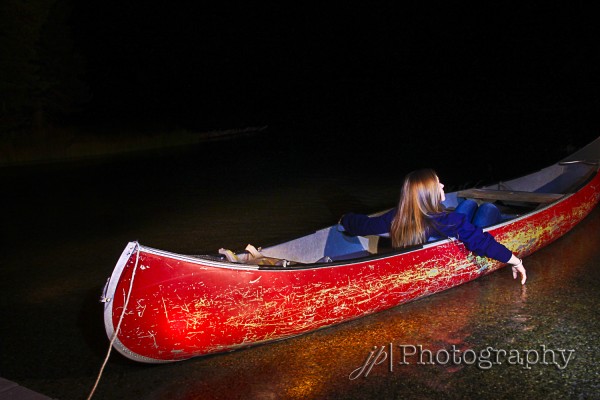
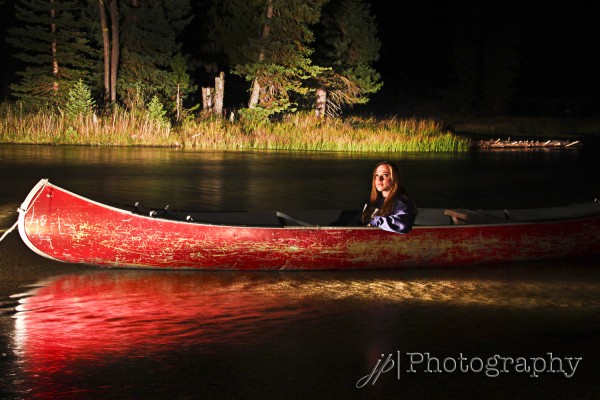
Dave Black inspired this photo. He likes to add people to his images and take light painting portraits.
Photography and Edits done by Julie Peterson
Graduates
Julie Peterson Photography
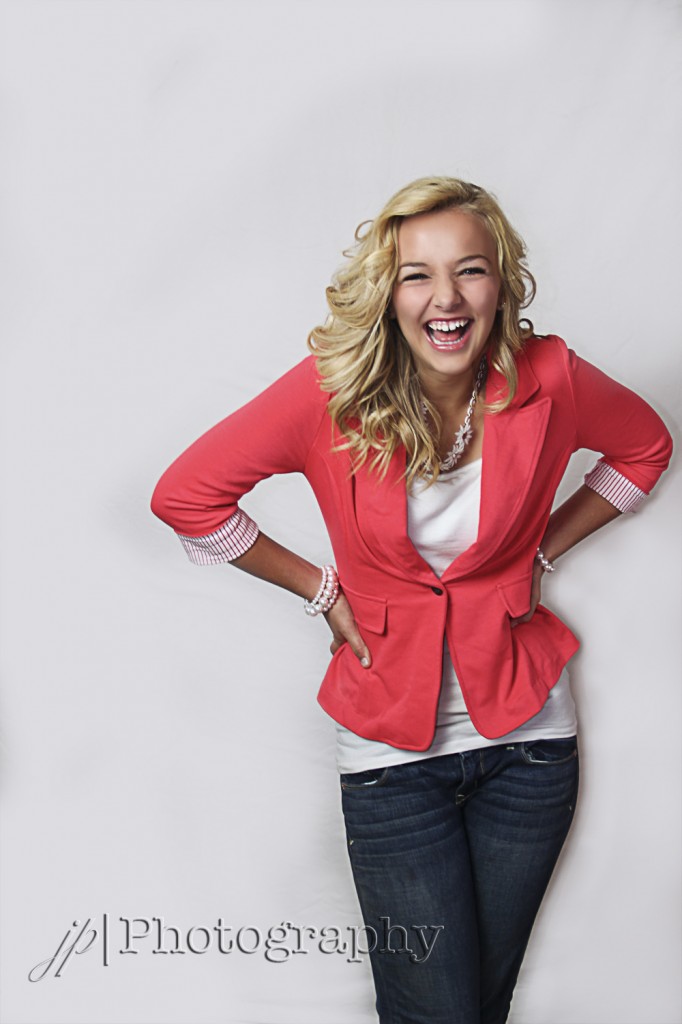
I was able to go to Island Park a beautiful place in Eastern Idaho. I was able to take graduates photos in this beautiful place. I am really excited with how they turned out. I was able to experiment with natural lighting, flash photography and continuous lighting. This was a really fun experience and I learned a lot. Here are some of my best shots. Keep in mind I did minimal edits. Thank you to my amazing models Zoe, Karli, Brijin, Chandler and Sam. You guys are amazing and beautiful! Photography and Edits done by Julie Peterson
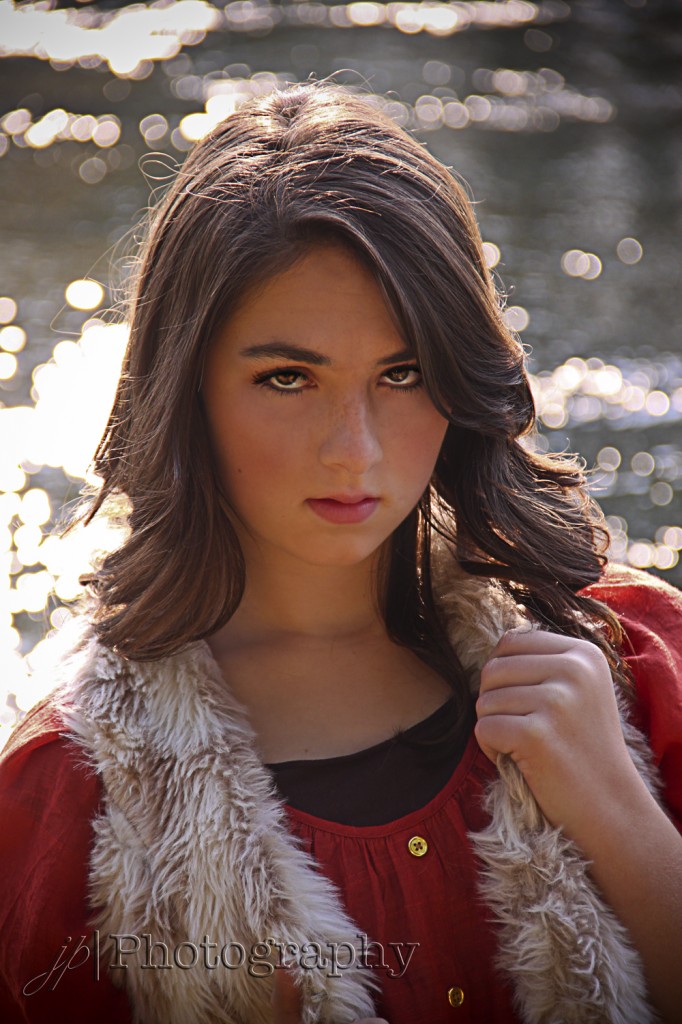
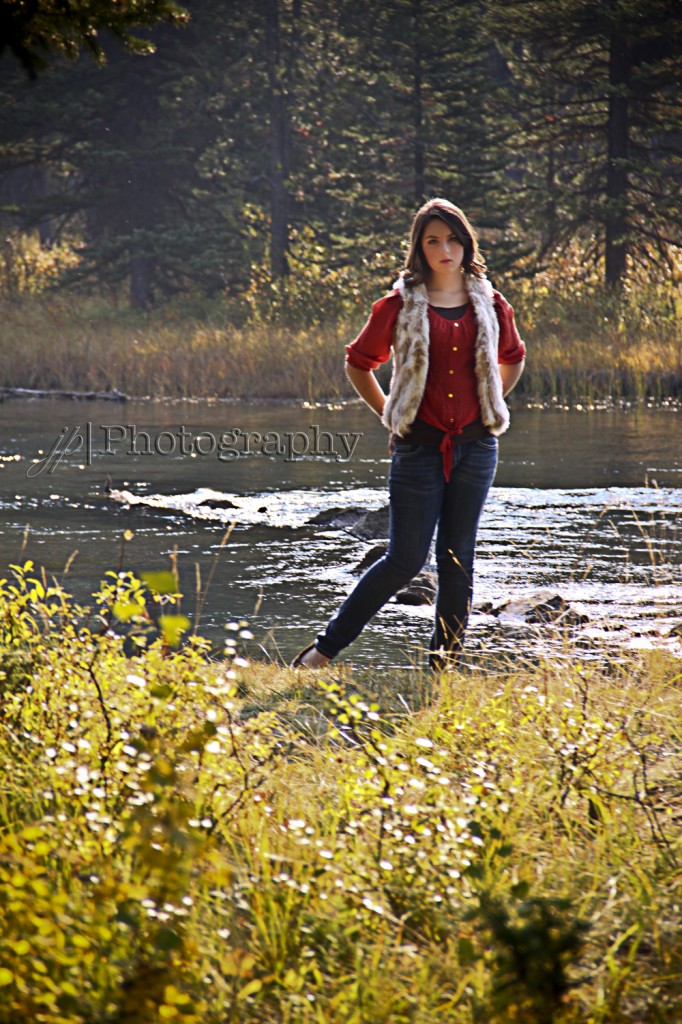
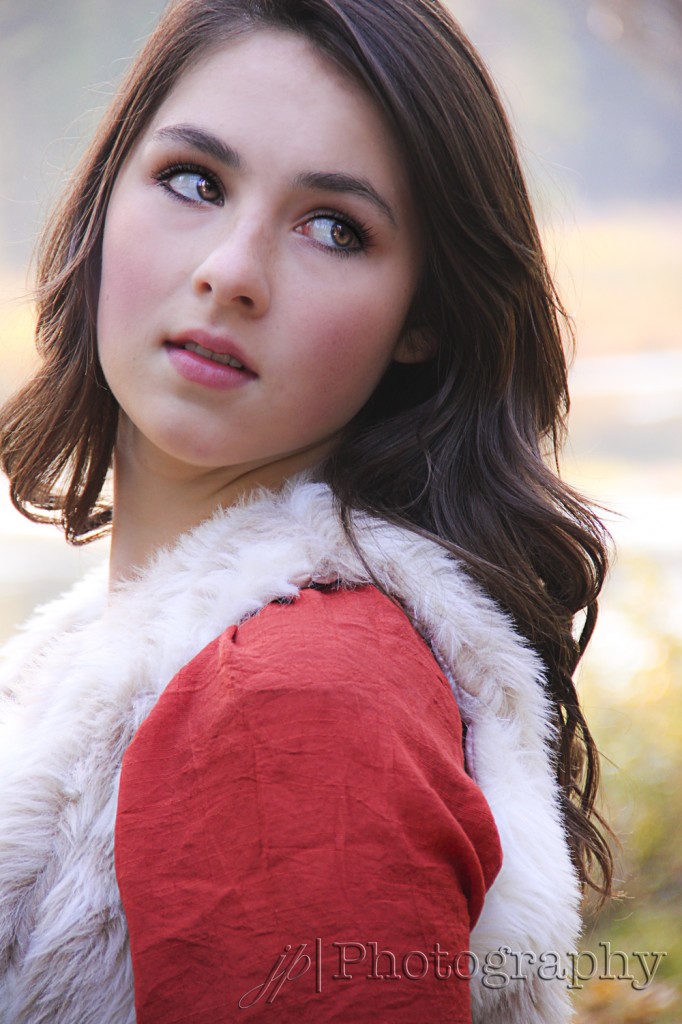
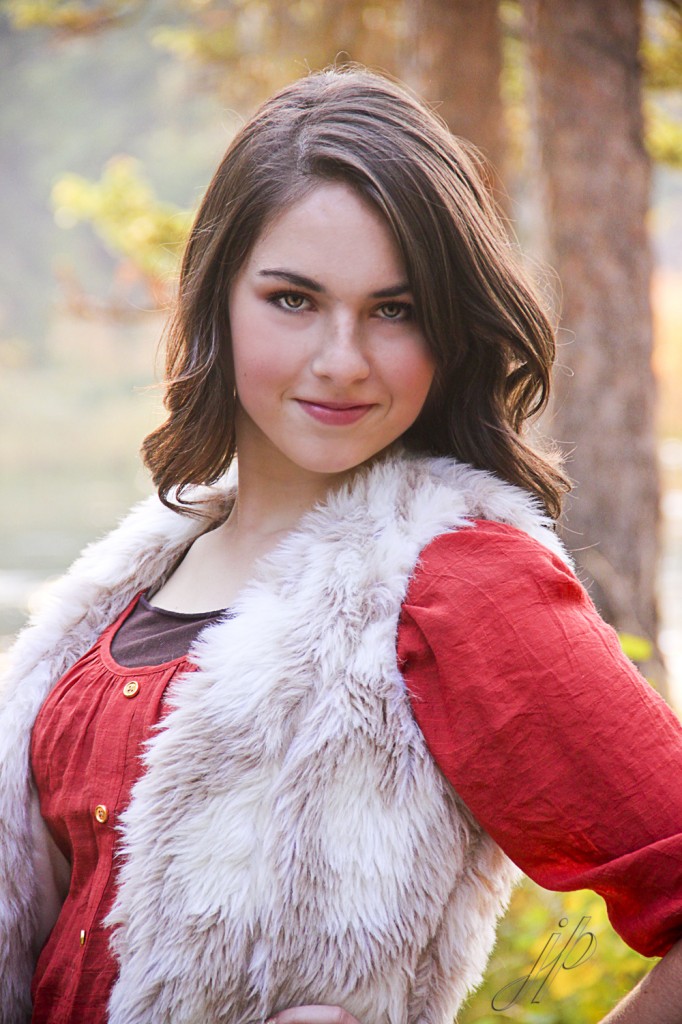
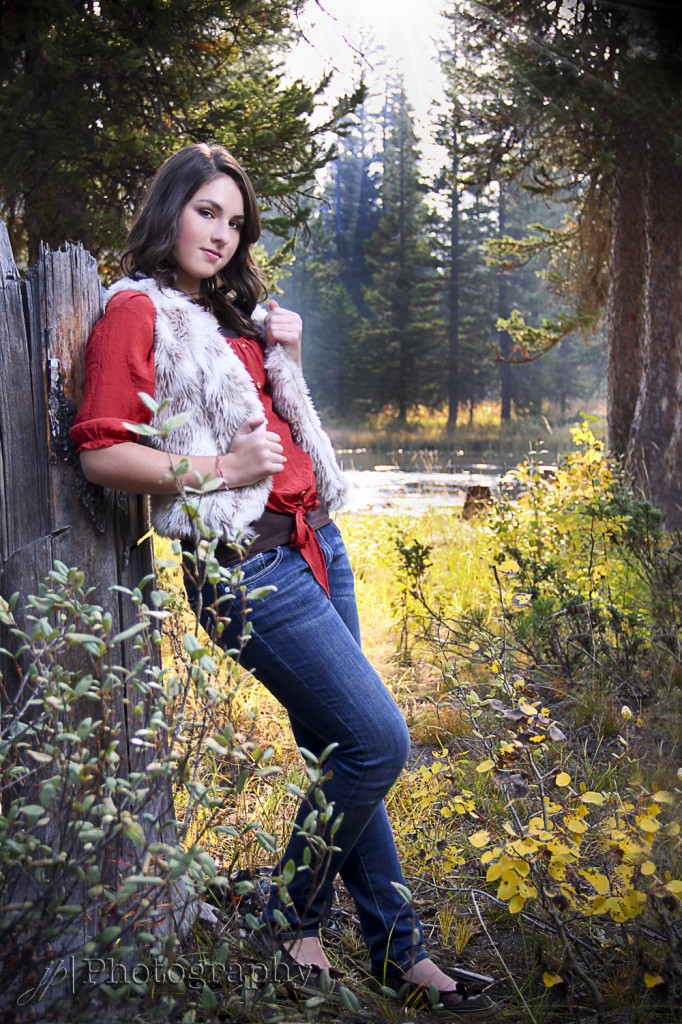
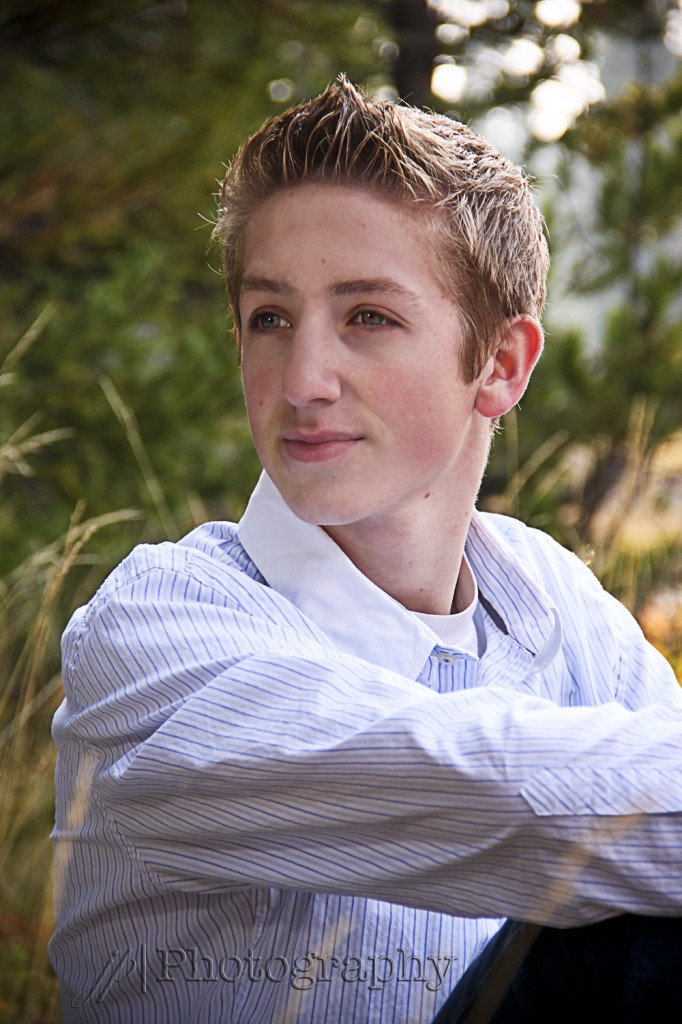
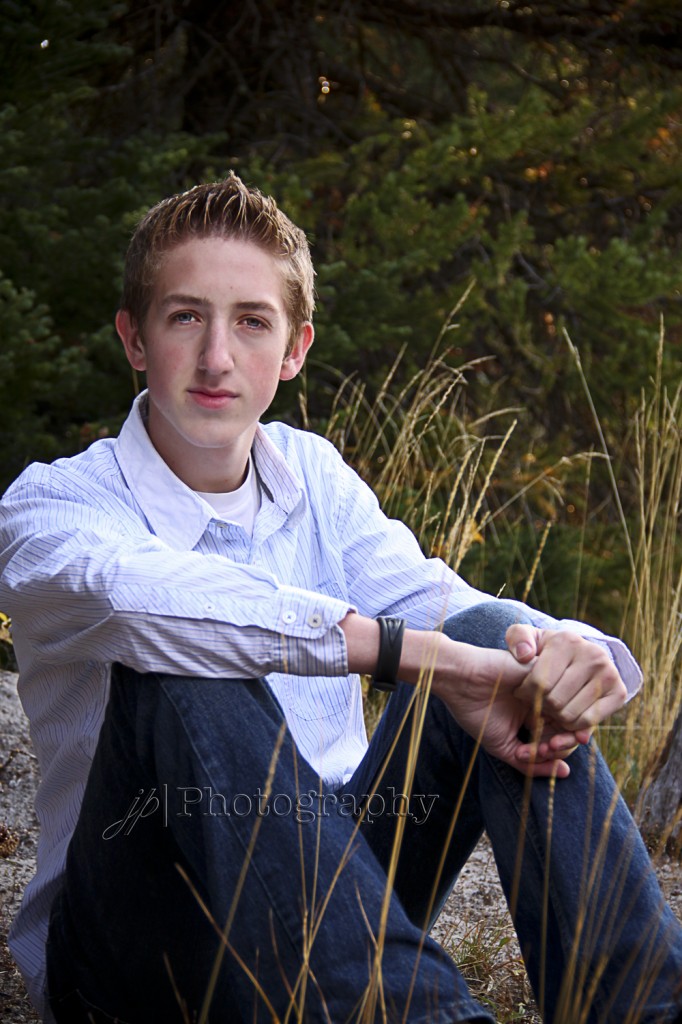
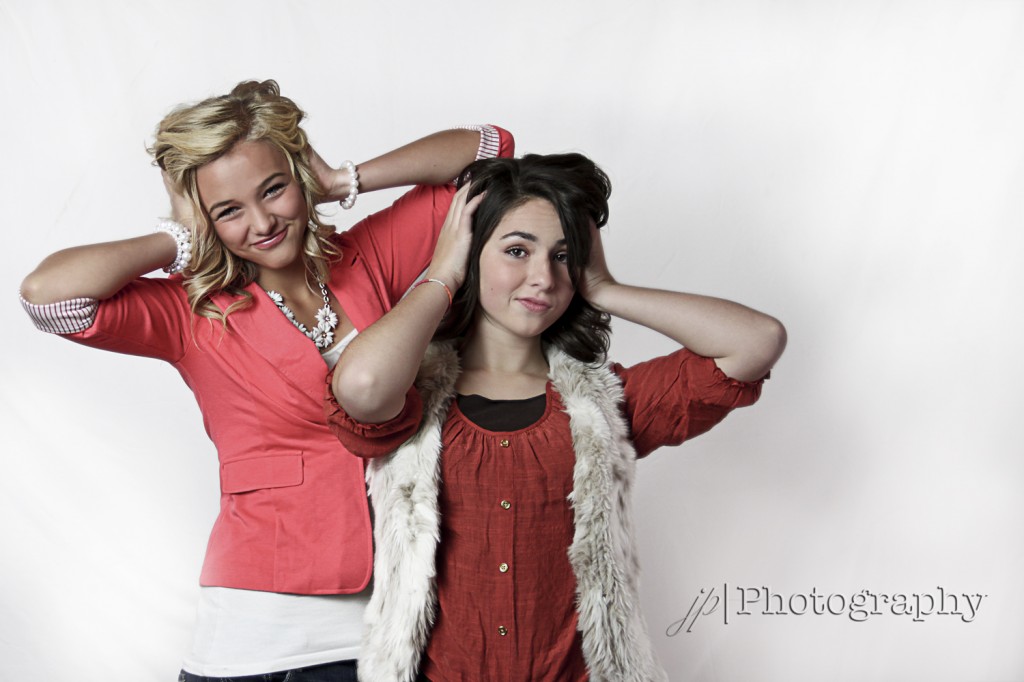
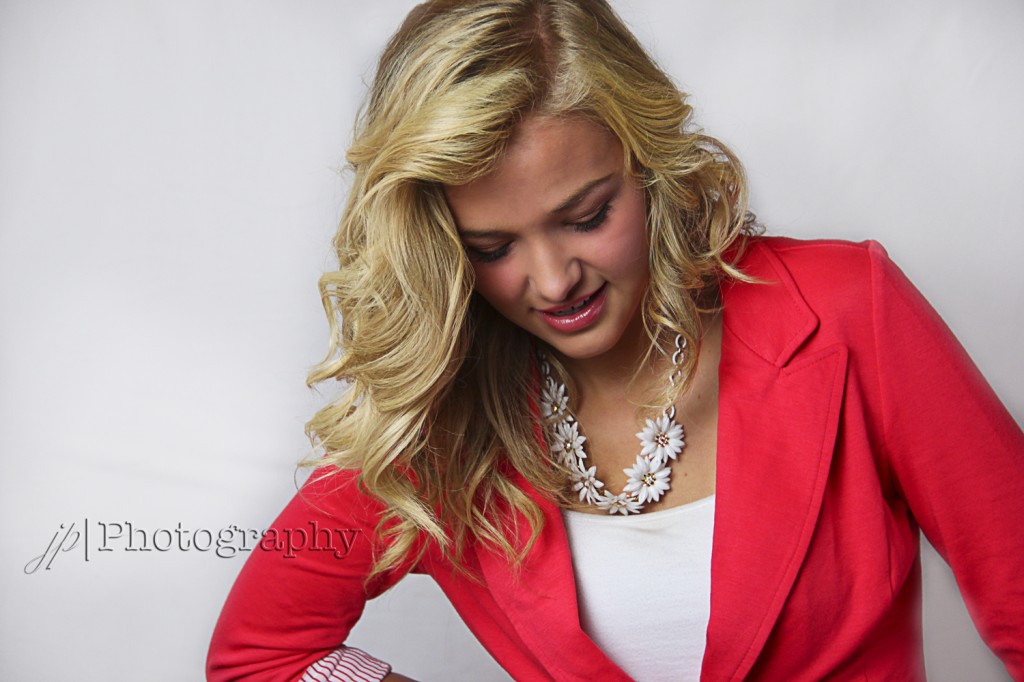
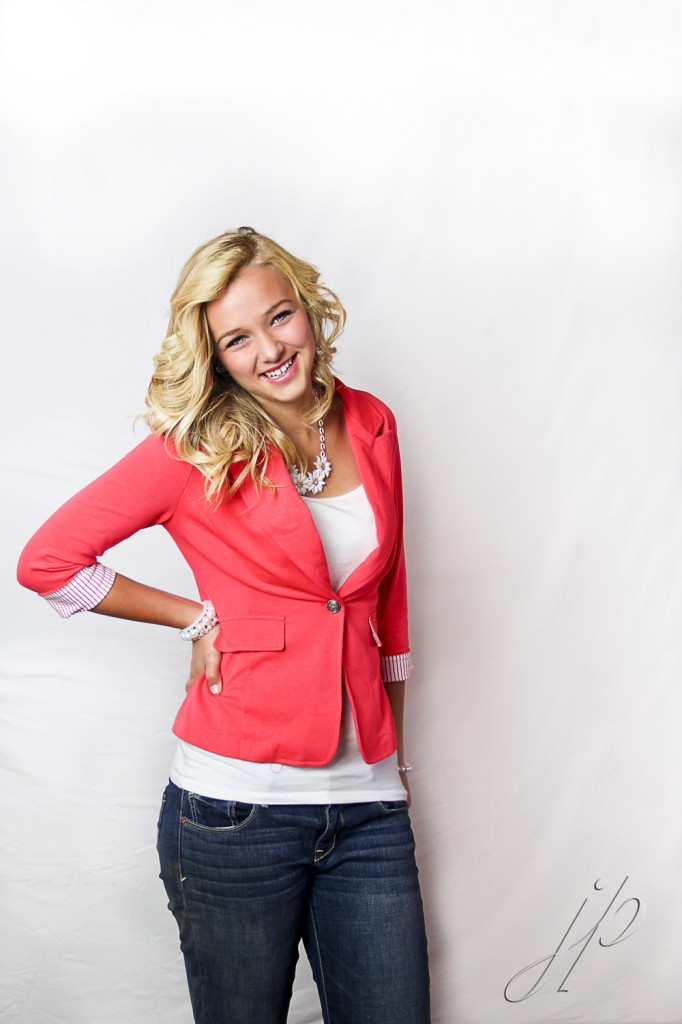
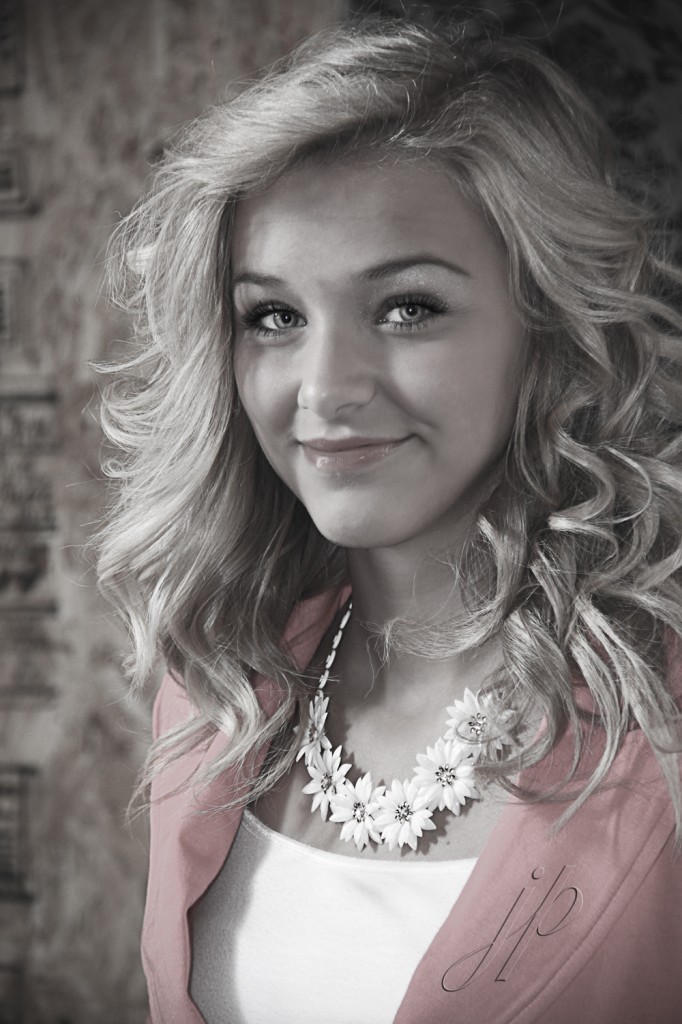
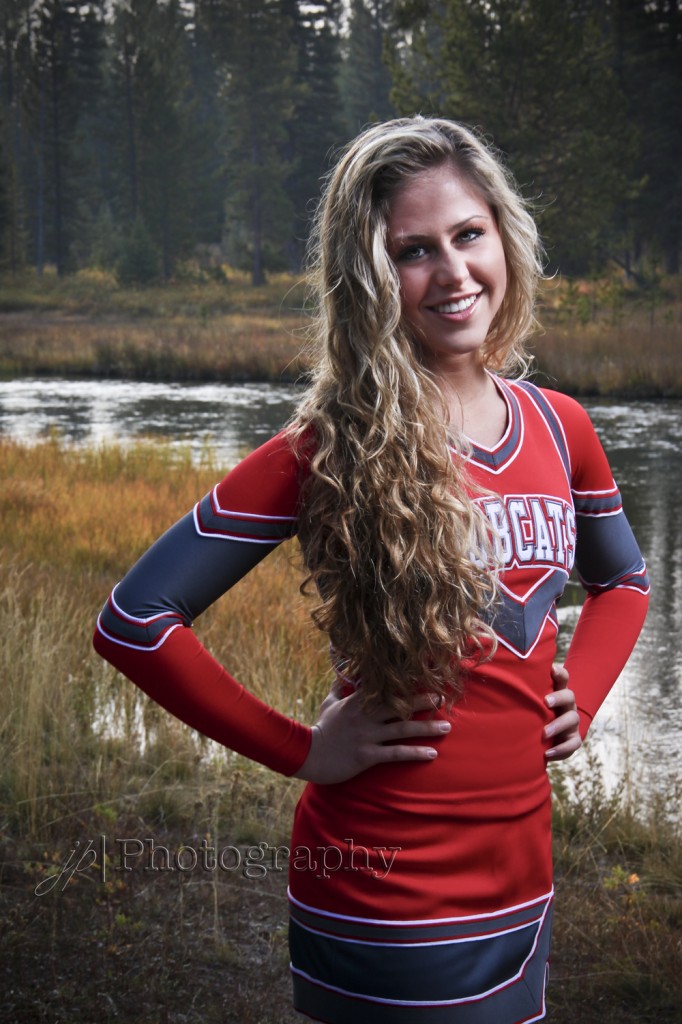
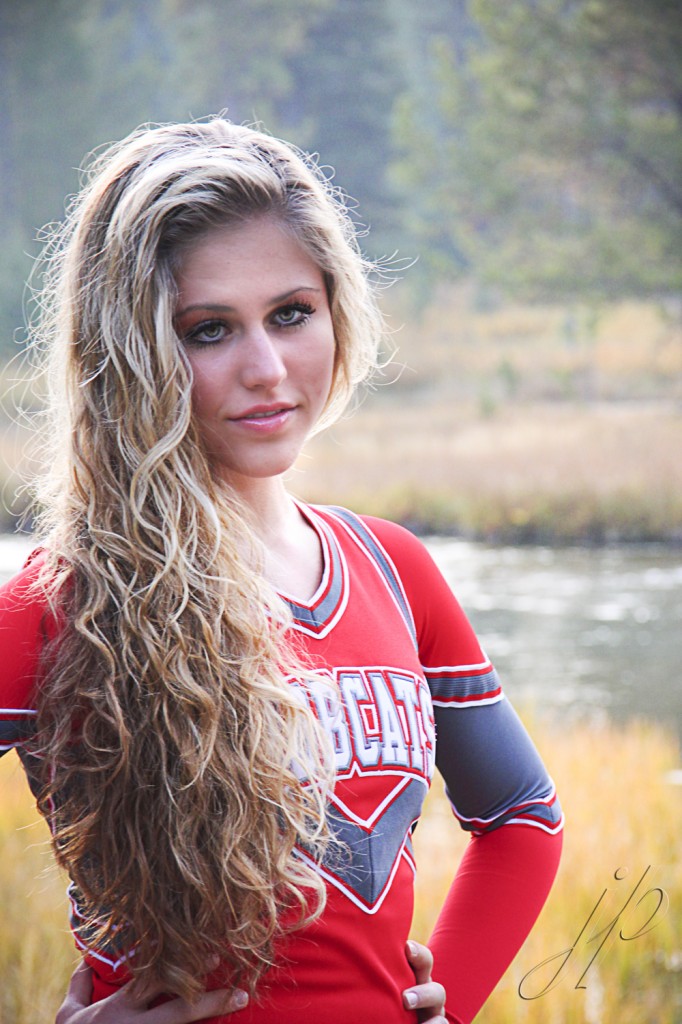
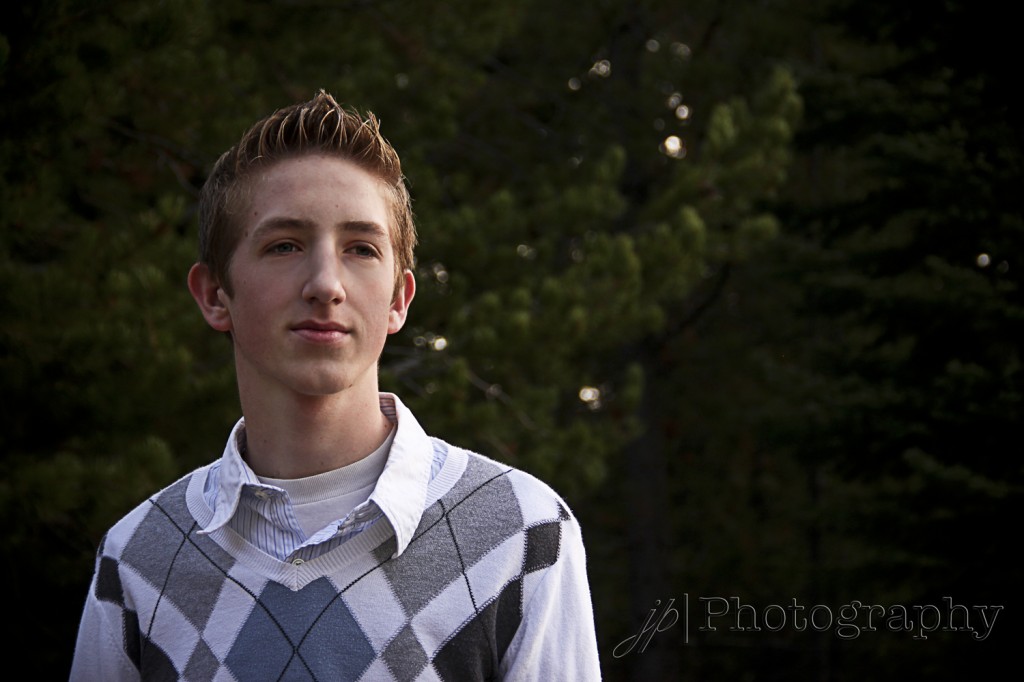
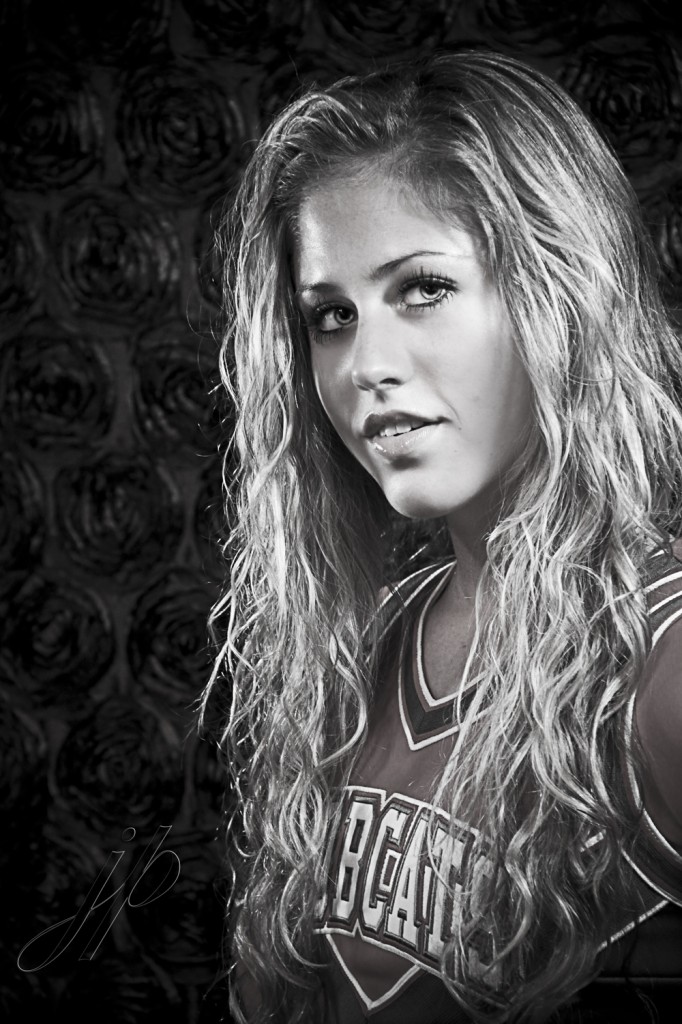
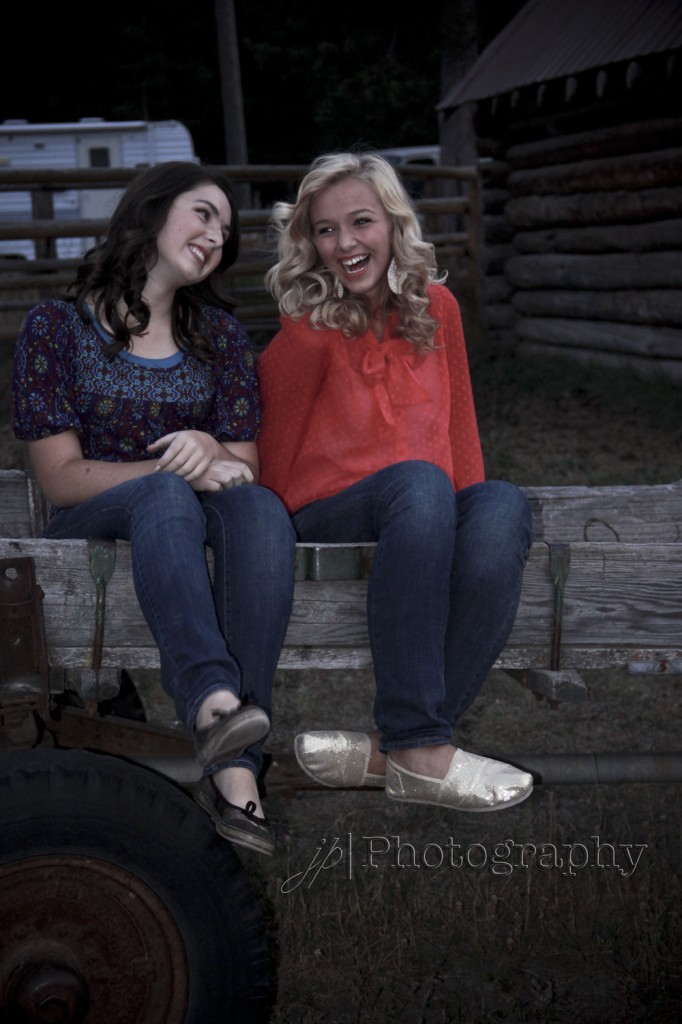
Photography and Edits done by Julie Peterson
Movie Poster
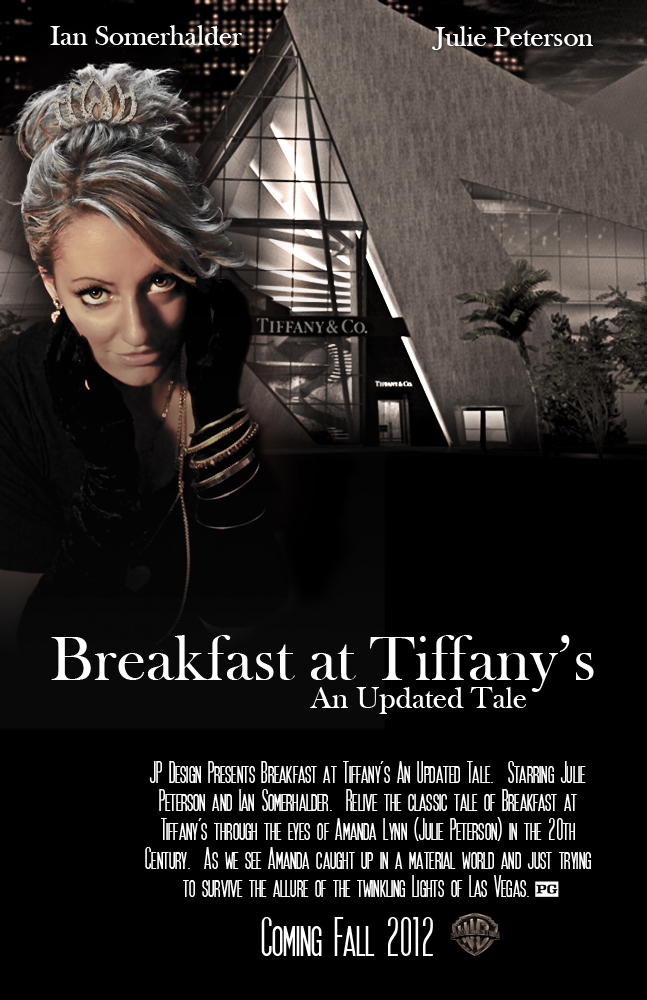
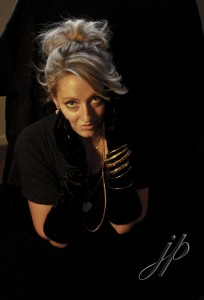
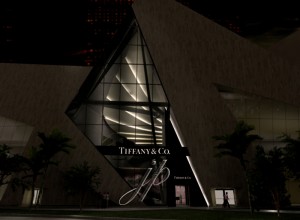
This was such a fun project. I first got the idea when I was in Las Vegas for Photoshop world. I saw the beautiful Tiffany & Co. and new that was going to be the backdrop to my poster. The photo was not easy to get as you can tell it was dark. I lowered my shutter speed and propped my camera on a near by newspaper bin because I did not have my tripod. I am so glad it was late at night because the stairway is the coolest part of this image. The other image I took in my house with my own homemade studio. It is a self portrait. I then cut myself out of the background using the Direct Select and the Refine Edge tool. I touched myself up and sharpened the image a little more then I brought that and my Tiffany photo together. I did some more cleaning up and then put in my text. I am so excited with how this turned out and absolutely had fun creating it.
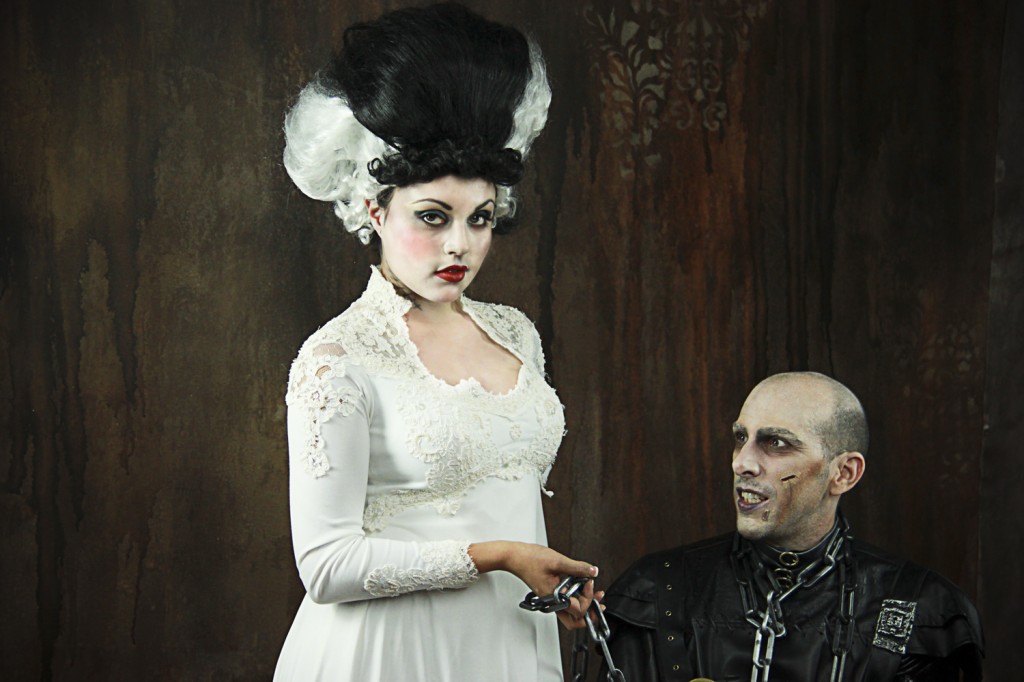
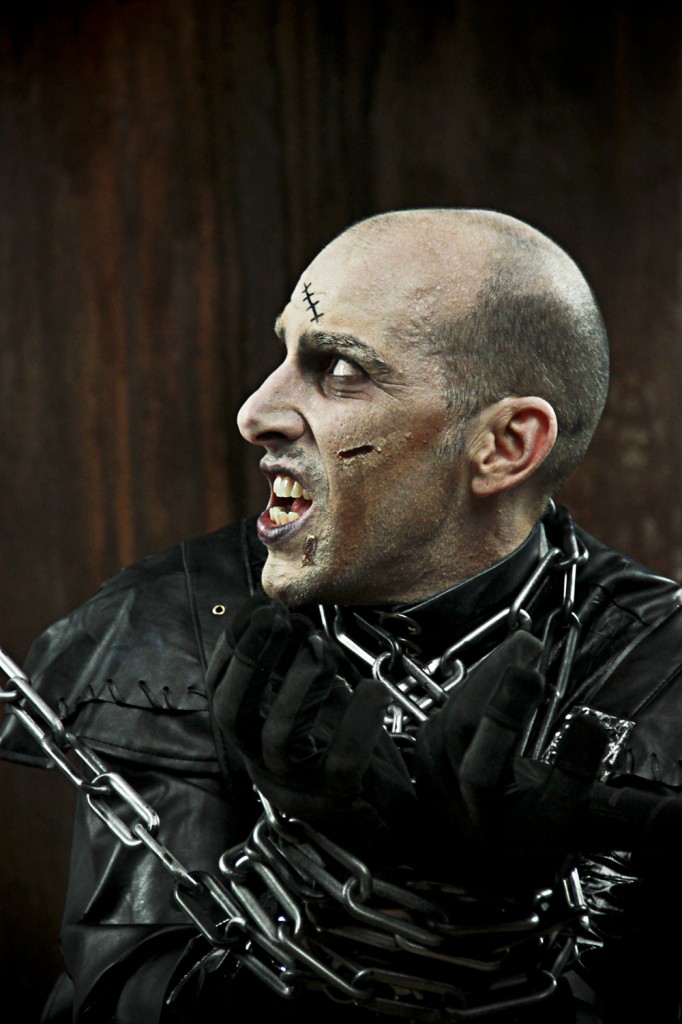
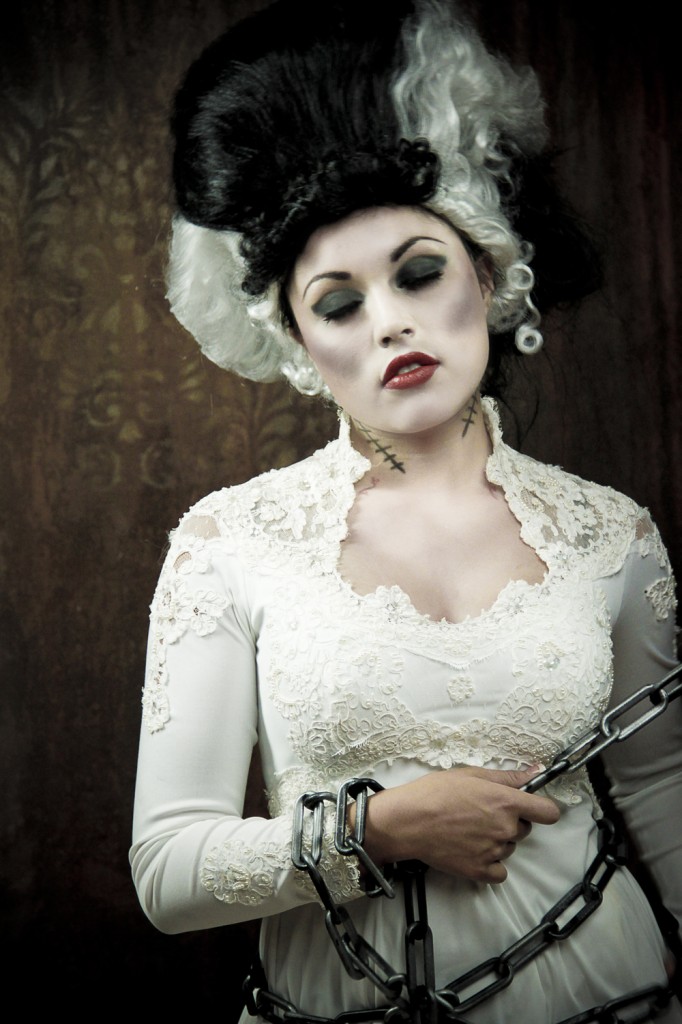
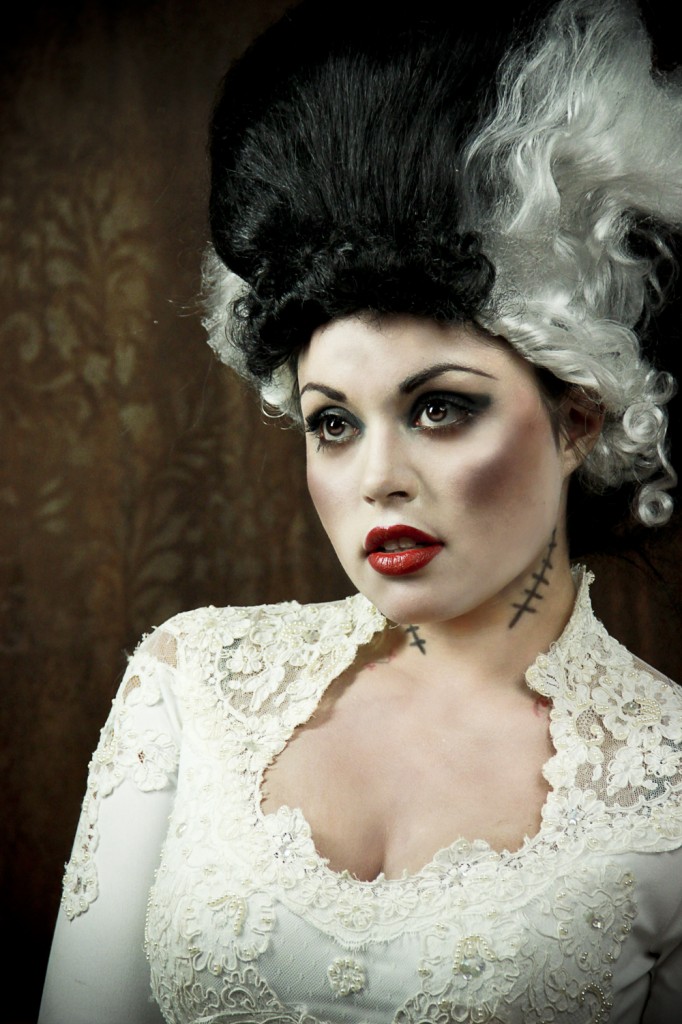
Abel and Darcy
Fatal error: Uncaught Error: Call to undefined function is_post_publicly_viewable() in /home/www/jpphoto.juliepdesign.com/wp-includes/media.php:989 Stack trace: #0 /home/www/jpphoto.juliepdesign.com/wp-includes/shortcodes.php(338): gallery_shortcode(Array, '', 'gallery') #1 [internal function]: do_shortcode_tag(Array) #2 /home/www/jpphoto.juliepdesign.com/wp-includes/shortcodes.php(247): preg_replace_callback('/\\[(\\[?)(embed|...', 'do_shortcode_ta...', '<p><br/><br/><b...') #3 /home/www/jpphoto.juliepdesign.com/wp-content/plugins/really-simple-facebook-twitter-share-buttons/really-simple-facebook-twitter-share-buttons.php(346): do_shortcode('<p><br/><br/><b...') #4 /home/www/jpphoto.juliepdesign.com/wp-content/plugins/really-simple-facebook-twitter-share-buttons/really-simple-facebook-twitter-share-buttons.php(286): really_simple_share('<p><br/><br/><b...', 'the_content') #5 /home/www/jpphoto.juliepdesign.com/wp-includes/plugin.php(213): really_simple_share_content('<p><br/><br/><b...') #6 /home/www/jpphoto.juliepdesign in /home/www/jpphoto.juliepdesign.com/wp-includes/media.php on line 989



 Follow